Typically, Many Job platforms or Job website may have API for Recruiter partners to retrieve candidate Profile or related information.
However if the Recruiter receives the Resume directly via E-mail as the PDF format, What the easy way to transform document form and input to your data source?
In Power platform has AI functionality to help you extract information from standard document to Digital information.
More Information on Microsoft Doc
Microsoft Learn
Refer to my previous Topic create hiring application using Power App. In this Article I will improve this software ability to Transform Resume PDF in to Datavers table by Integrate AI Builder Form Processing.
There is 3 main Part
1: Prepare Dataverse table to keep AI output.
2: Create And Taring AI using Form Processing Model
3: Create Power Automate Flow to triggers AI-Builder
Part 1: Prepare Dataverse table to keep AI output.
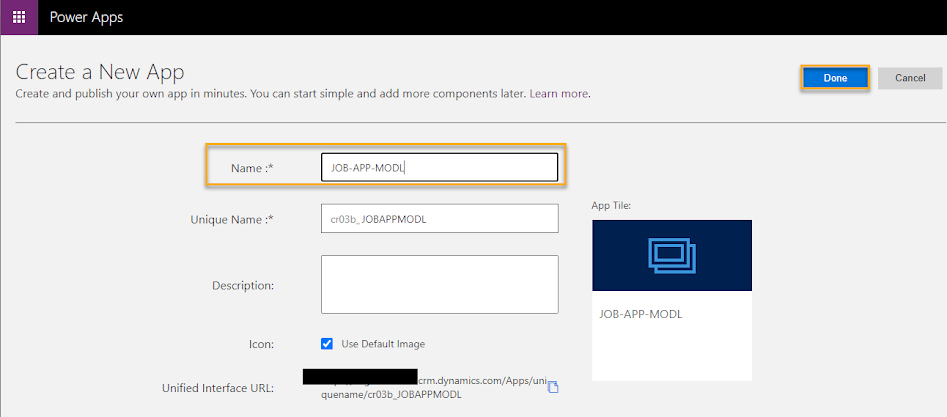
1.1 Login to Microsoft Power Apps and select Environment.
1.2 Modify JobApplication Table by adding fields as below and save Table
Part 2 : Create And Taring AI using from Processing Model
2.1 Build the AI using Form Processing Model
2.2 Name your AI model
2.3 Add Information to extract
- Select Field
- Repeat 2.3 to add follow fields ,Next
(Name, Position, Location, Skill)
2.4 Add Collection of Document. In this example I will you first collection of Resume that generate from LinkedIn Website .
- Need at least five sample document layout for analysis and training AI
- Upload Document
2.5 Analyze document and training AI
- you have to detect the word for all document sample mapping fields to let AI know during training stage
2.6 Let AI Training
2.7 Test and Publish you model
-AI Builder >> Model select the model "ResumeExtractor"
- Quick Test
- See what AI detect the word and how much confidence score.
- If you happy with Test result then you can publish the Model to ready for next step
Part 3 : Create Power Automate Flow to triggers AI-Builder3.1 Login to Microsoft Power Automate select same environment as previous step
3.2 Create Instant Cloud Flow
3.3 Name The Flow "
ResumeExtractorFlow"and choose how trigger "
When a row is select" : Microsoft Dataverse (Legacy)
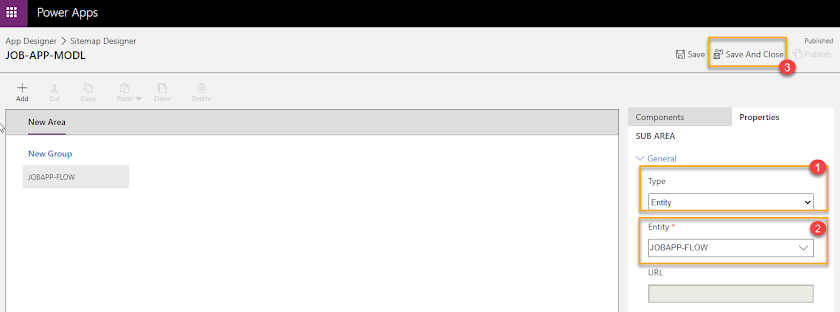
3.4 Design the flow
- Step 1 Dataverse lagacy : When record is selected :
- Step 2 AI-Builder : Extract Information from Forms
- Step 3 : Dataverse : Add New Row
- Save the flow
__________________________________________________________________________
Now , Let see how to run Flow from Model Driven in Power App.
- Run the flow
- Upload Resume
- Once uploaded. Waiting flow processing for minute then Refresh the screen.
New record has been created click to check on Main Page
- The mapping fields has been capture from Resume PDF in to Dataverse Fields .you can double check the value in app compare to PDF document
Thanks for your visit.